I can hear my three oldest daughters laughing upstairs. Their laughter is heard above the humming of three sewing machines. They are gathered around our dining room table sewing crayon rolls to sell in my mother’s new children’s bookstore, The Purple Cow Bookstore, that will be opening in a couple of weeks in Tooele, UT. I’m so glad they are able to have a good time talking, laughing, sewing. It reminds me of the old-time quilting bees.
Crayon rolls are so easy to make! Here’s my own pattern that I developed and now use. Feel free to make them, give them as gifts, sell them, whatever!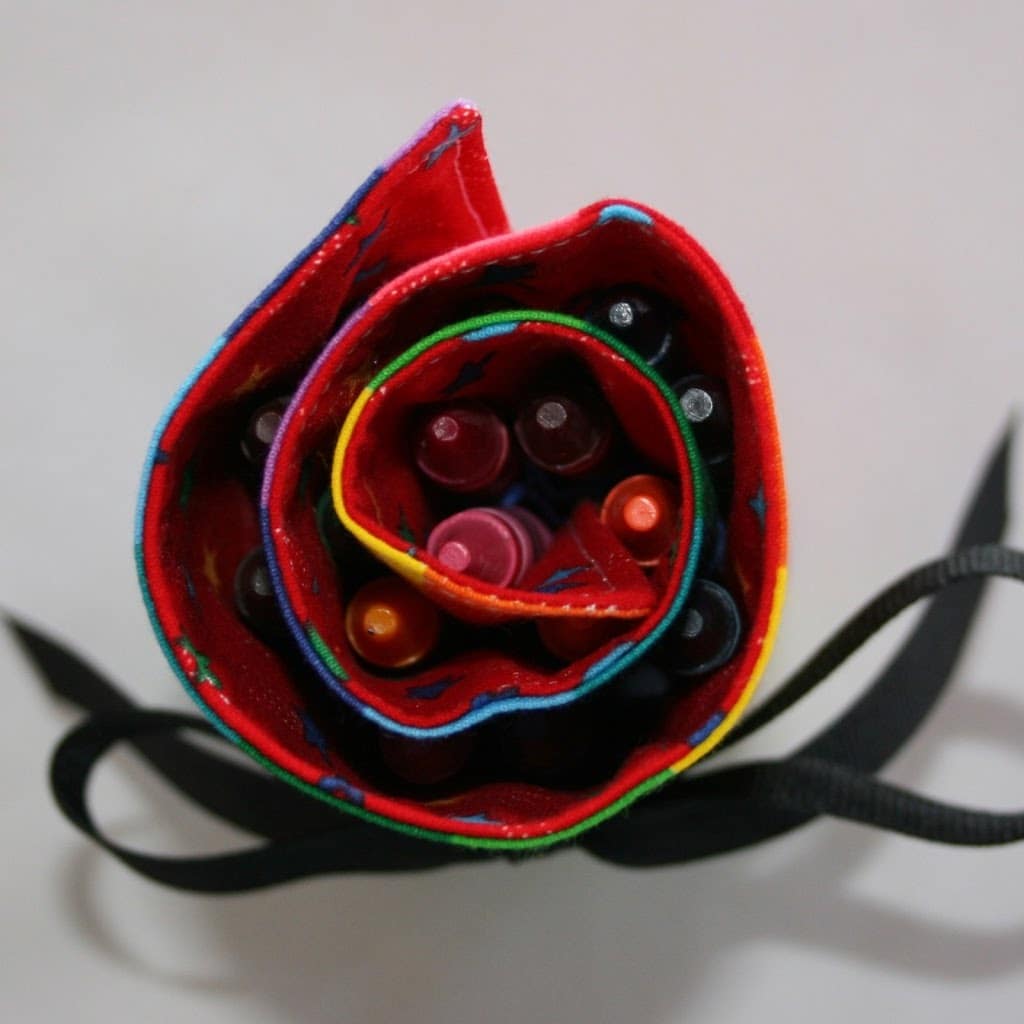
Crayon Roll Instructions (holds 16 normal sized crayons)
Materials Needed:
3 – 13 x 5 inch pieces of coordinating fabric (one for the back, one for the front, one for the pocket)
1 – 13 x 5 inch piece of fusible interfacing
1 – 24 inch piece of coordinating ribbon (I forgot to put this in the photo)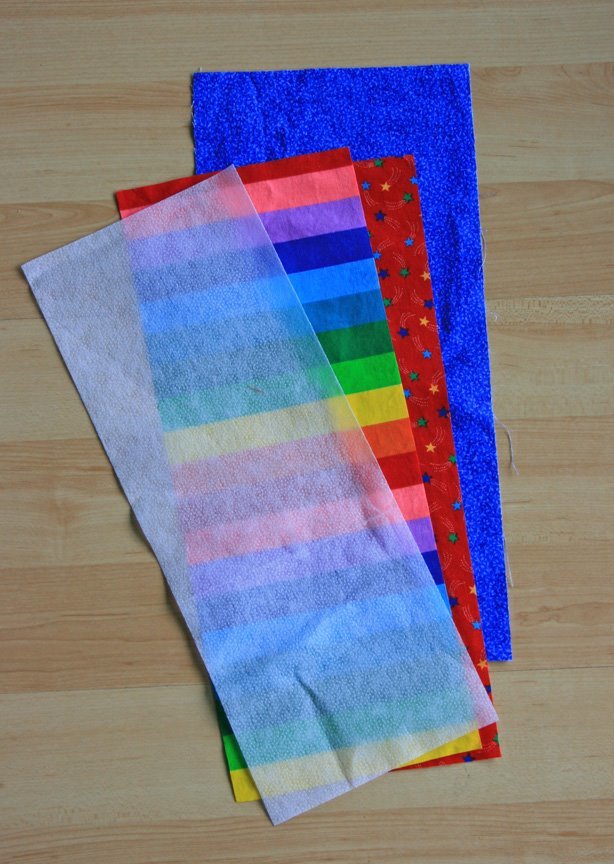
Step #1: Iron the interfacing to the back of the front piece. This is the piece that the pockets will be sewn to. Fold and iron the pocket piece in half wrong sides together. (see photo below)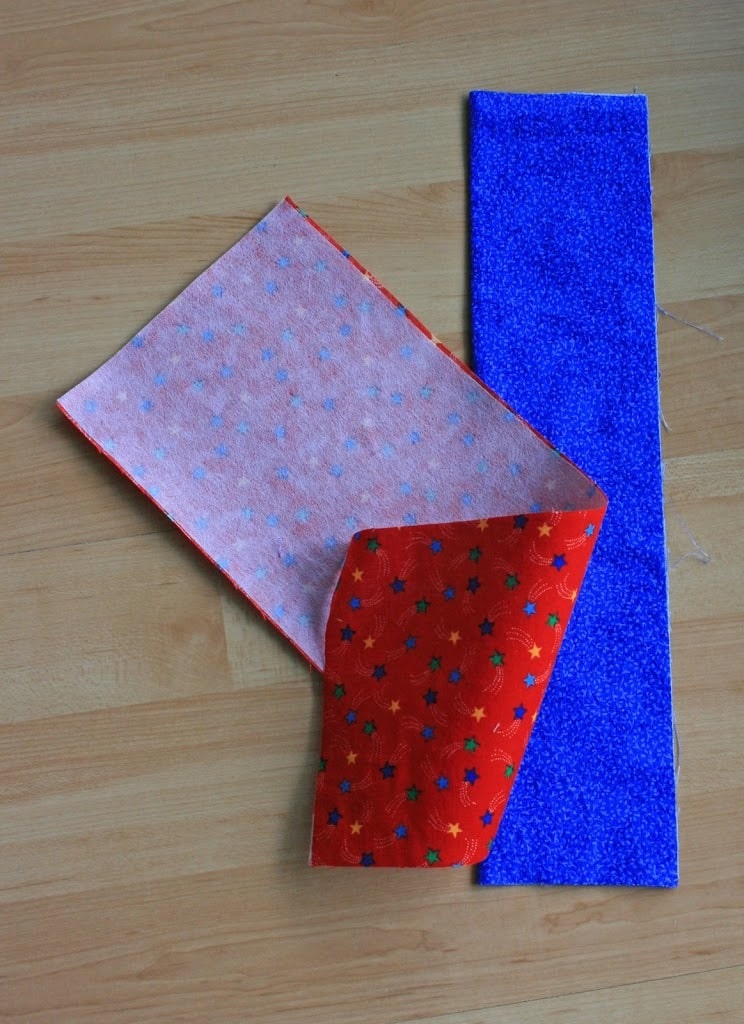
Step #2: Place the pocket piece on the right side of the front piece matching the bottom and side edges having the fold of the pocket piece right in the middle of the front piece. Mark the sewing lines by measuring in 1 1/4 inch from the left edge then every 3/4 inch until you have 15 parallel lines. The last line should also be 1 1/4 inch away from the edge. (see photo below)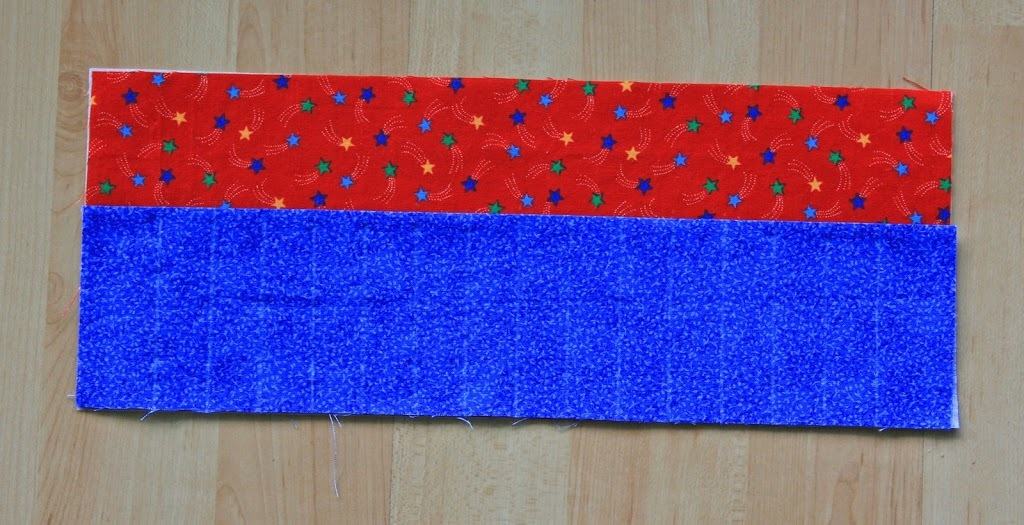
Step #3: Sew on these lines making sure to backstitch at the top and bottom of each. Fold the ribbon in half. Sew the folded edge of ribbon to the right side of the crayon roll. (see photo below)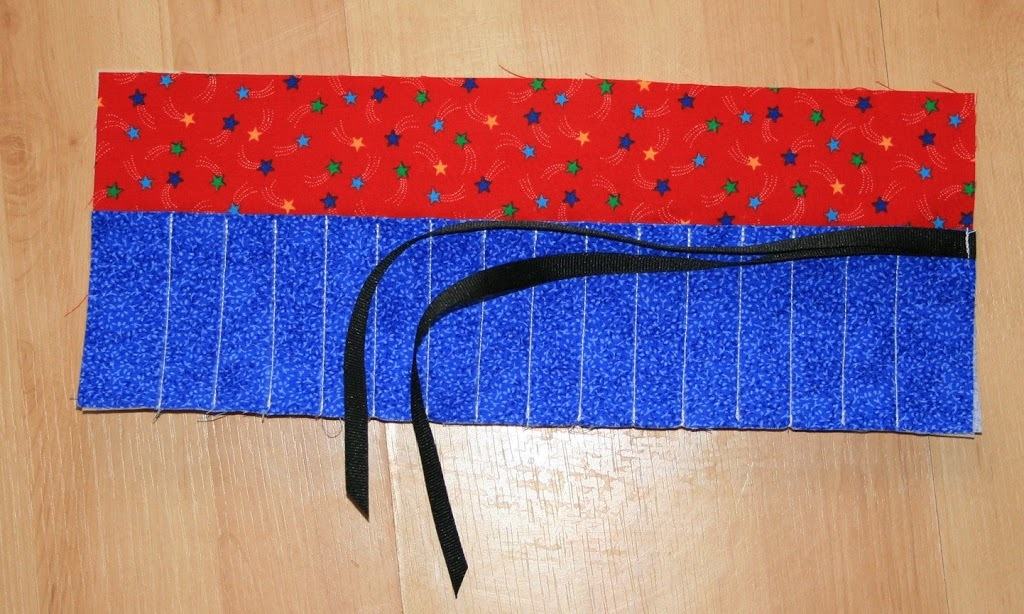
Step #4: Place the back piece onto the front piece right sides together. Sew around the edges using a 1/4 inch seam allowance making sure to leave an opening somewhere to turn it right side out. I leave my opening on the other short end that doesn’t have the ribbon sewn to it. Clip the corners. (see photo below) Turn right side out and press.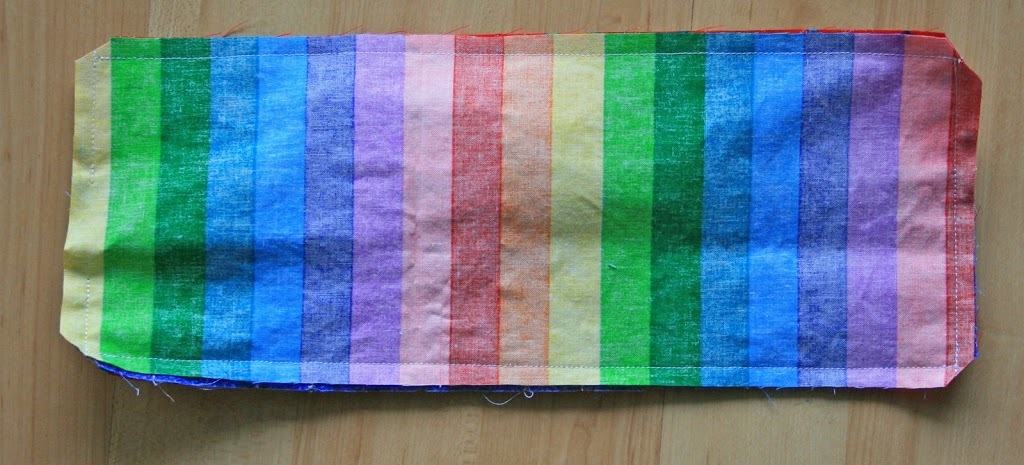
Step #5: Top stitch all the way around 1/8 inch from the edge making sure to close the opening.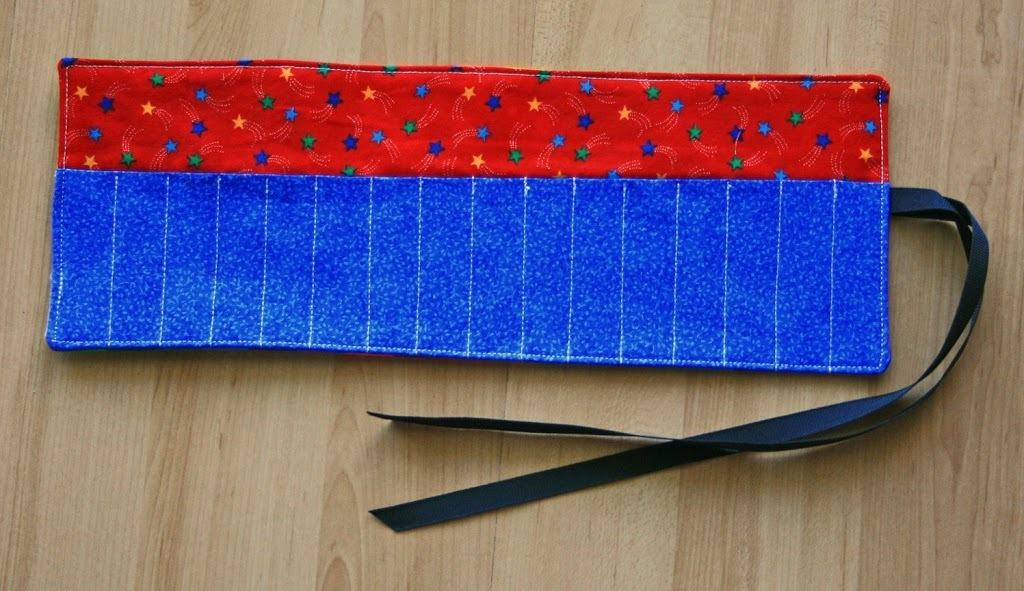
Step #6: Fill with crayons and you are done!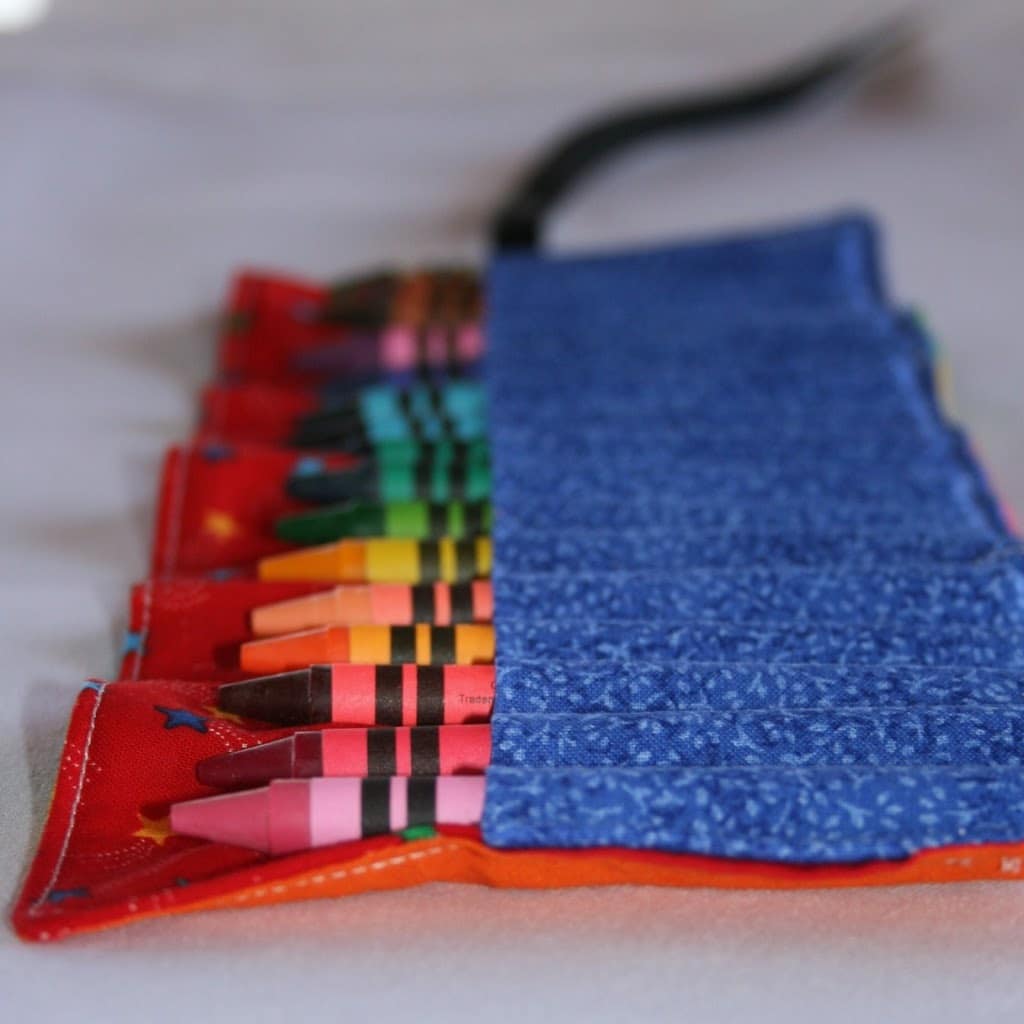
It’s hard, at least in my area, to find 16 count crayon boxes. We buy the 64 count crayon boxes, separate the crayons into color families, and then divide them equally into four sets of 16 crayons each.
As with all my tutorials, if you have any trouble or find any problems with my instructions leave them in the comments section and I’ll try to help as best I can.
And if you aren’t the sewing type, print off the instructions for a sewing friend to make one for you, or buy some from my shop, Cranial Hiccups!

I have a new project of rmy girls now – thanks for this.
You are seriously the best! Thanks so much for this! And how fun for your girls to make stuff to sell, together no less! I love it!
That is so cute! Thanks for the tutorial!
Thanks for the tutorial. I really have been wanting to make one of these and also one of your bags. Thanks so much for taking the time to write the instructions.
Thanks for taking the time to write out the steps for this. My six year old’s been asking me to teach him to sew on my machine. This is a great project for him to do with some help from me…and it’ll make a great gift for his toddler sister.
On another note, my husband and I have reviewed your posts on food storage and usage. You had many good tips and ideas that we are incorporating into our own “larder” organization. With a growing family (3 so far) and very type A personalities, it’s necessary for us to preplan meals and food usage. Thanks for those ideas, too.
I love your tutorials…so easy to follow and deliriously cute. I’ll be making a couple of these for birthday parties this week. Thank you for sharing your talents…
When I first saw these I thought, “What a waste. My little ziplock bag of crayons works perfectly well.” THEN my sister in law made these for my children for Christmas and my thought was quickly changed. The best part of these is that the kids can spread them across their lap and the crayons stay put. They are the best thing ever for road trips and at church.
What a cute idea! I have a new sewing machine and I’m finding your tutorials to be so helpful and fun… thanks!
I LOVE your blog. I can’t remember where I found it, but I love reading it. You are so creative, and with four little ones of my own (all under 5), I find fun things to do with them in a hurry. I’ve linked to your blog from mine so that my followers know where I am getting such great ideas. I hope that is okay with you. I also love how you helped with the customizing your blog tutorials. It gives me something to do with mine now. Thank you so very much for keeping this SAHM on the creative side.
This doesn’t look too hard. Maybe my very meager sewing skills could accomplish this one. I think Sophie would love one.
Have you heard of youcanmakethis.com? You should really sell your patterns there!
This is SO awesome. I might have to give it a try this summer!
Thanks for the tutorial! I loved making it. My dd loved taking it out when we went to dinner.
I love this – and i can’t wait to make some!
I might also try making it so the bigger “toddler” cryaons fit (though – they might – guess i’ll see after my first try making this!)
Thanks for sharing your tutorial!!
Love this! Thanks for posting the tutorial. I think all make these to add to the Art/Craft-take-along-cases I’m putting together for my boys for Christmas. 🙂
Thank you so much for this!!! I’m just finishing one up as a LAST minute gift! Perfect!
OOH I loved this so much I had to make one this afternoon!!! I will be posting a picture of mine and a link back to you blog July 2nd for my Christmas in July post of the day!!! This is a excellent tutorial and it was super easy to make!!!
I did this for the Waldorf stockmar beeswax crayons…for a set of 8, make the fabric 12″ and then on the pocket measure 1 inch on either side, then make each crayon slot 1.25 inches.
thanks for a great tutorial
thank you thank you thank you!! I realize this is super old, but I’ve been hunting for a crayon roll tutorial and this is by far the best one I have found!!!
I love this idea. Christmas presents ahoy!
Thank you for the clear tutorial. I just love it when I find great ones like this. I can see myself making lots!
This comment has been removed by the author.
I am going to make one of these for my son’s stocking! Thanks for the tutorial. I have to say that your “chocolatey” nicknames for your family are the most adorable things! So sweet. 🙂
Thank you for this. I made one of these for my daughter then lost the pattern. I found yours through a Bing search. Yours is easier and I think cuter then the orignial one that I made. I made a roll for make-up brushes, lip gloss, mascara etc. for my older daughters friend’s birthday. I just wanted to say thank you.
Thank you for posting this tutorial! I whipped one up during nap-time for our airplane trip tomorrow!
Just wanted to let you know I followed your pattern and made several crayon rolls for Christmas this year.
What an incredibly fun, simple, and easy to follow tutorial. Thank you so much!
Here’s a link to tons of pictures of what I made from your pattern with links crediting back to your blog.
http://blissfulchaos6.blogspot.com/2010/01/crayon-rolls-and-crayon-tote.html
Thanks again!
Hi there! Love this tutorial. I am having trouble with the interfacing though. I would consider myself somewhat beginner sewer. When I go to turn it inside out, the fabric on the backside peeks out the bottom on the front. (does that make sense?) I think its because of the interfacing, but i’m not sure. When I go to topstitch it, its really difficult to get the correct colors to line up. I hope that isnt too confusing. Any advise? Thanks,
Michelle
Thanks for the tutorial. I am in the process of making 14 of these for party favors for my son’s birthday party. I am also in the process of questioning my sanity, this project is way bigger than I thought 🙂
Thanks 🙂
i’ll try it tonight 🙂
Thanks so much for this tutorial… I made one for my nephew today. I have a question for you… are the crayons supposed to fit so tightly into the pockets?? I followed your measurements, but wondered if I maybe did not measure right or something, as they are kind of hard to get in and out of the pockets. Then again, maybe it has to be that way for the crayons to stay in?? Just wondering! Thanks again, great tutorial.
Sandy,
The pockets on the first crayon rolls I made were 1 inch wide but the crayon fell out so often it was irritating. This pattern makes the pockets more snug but the fabric does loosen up the more the crayon roll is used.
Thanks for the tutorial. My son was so excited about his new toy after waking up from his nap. I increased the measurements to accommodate for jumbo crayons (easier for younger kids to hold) and it worked great! http://jeffandtraci.blogspot.com/2010/08/naptime-craft.html
Thank you for the wonderful tutorial! Very well done!
I just made 2 of these, one each for my son and daughter, in a couple of hours. For a novice sewer, I think they turned out pretty good! Thanks for an easy, fun to make tutorial! I think all my nephews will be getting these for Christmas 🙂
I am a novice sewer. What do you need the interface for? Will it still work without it?
Jellybean,
You can sew the crayon roll without the interfacing but it is recommended. The interfacing helps to stabilize the material the pockets are sewn to making it sturdier. With all the pull crayons in and out it puts stress on the top of the pocket where it is sewn. Without the interfacing there is a much greater risk of ripping the fabric.
Found this a year ago and have loved it since!! Thank you for sharing! FYI – I’ve been making these out of flannel (extra fabric I’ve had on hand) without the interfacing and the ones I made my for girls Nov 2009 are STILL holding up, and we use ours every Sunday at church! Please note my girls are 3.5 and 18 months so they are by no means gentle 🙂 I think flannel was thick enough it can stand a little more! Thanks again for sharing – it made great gifts for the cousins this year and some last 🙂
Great tutorial! One question–what would the measurements be for the ‘fat’ crayons? I have toddler grandkids–they need those fat crayons or they break so easily. thanks!
I came looking for a crayon roll tutorial, and discovered you are LDS too! I will be following you from now on! Thanks so much!
Thank you so much for this! I came across it on Google, looking for a pattern. Have a great day!
I am featuring you and your wonderful crayon idea on my blog today! Feel free to check it out!
http://anisfavoritethings.blogspot.com
Thanks for such a great idea!
Hi there, found this post while googling for crayon roll free pattern. We are going to use this to put in shoebox gifts for Operation Christmas Child. Thanks so much!!
Thank you for this tutorial. I am going to try it out! I’ll let you know how it goes 🙂
Emily @ Love{&}Bugs
http://vanessen-family.blogspot.com
This ia the best Tut. I made one last night in 20 min. I am going to make 30 to give at my sons 1st birthday.
trying to figure the size of fabric for 8 crayons.
thanks so much this was great.
gravel10@verizon.net
Lovely clear tutorial. I’ve just finished making a lovely pink and floral roll (i have 2 boys)for the ‘love in a box’ charity, which sends gift filled shoeboxes to children in deprived countries, as christmas gifts!!I’m sure a little girl somewhere is going to be very grateful x
Thanks so much for this tutorial! I featured it for my 31 Days of Handmade Christmas Gifts this month: http://spartasavings.blogspot.com/2011/10/31-days-day-24-crayon-roll.html
Great idea!! Super cute and very easy to make- took me under an hour. The instructions are very clear.
It’s a great use for fabric scraps too!! Win win win 🙂 Thabk you for that