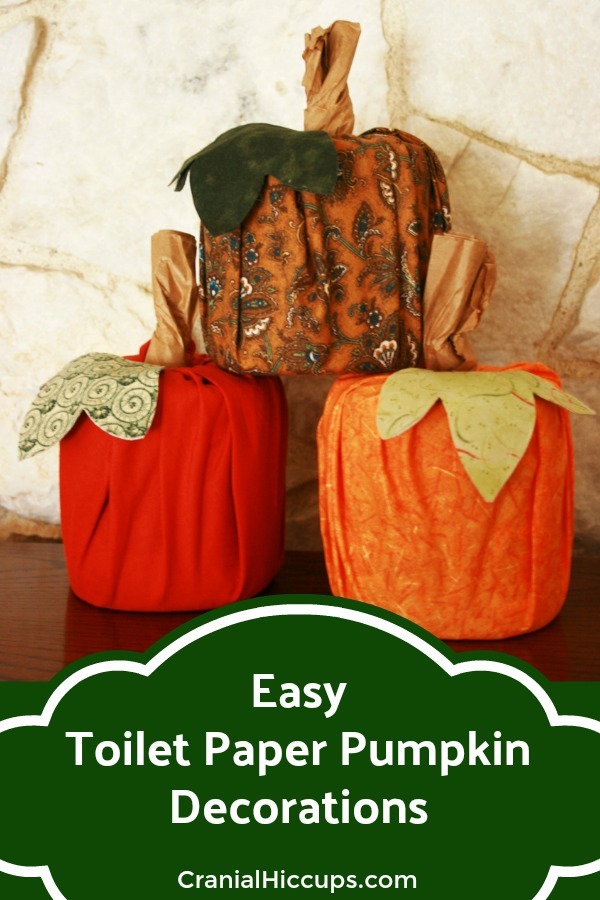

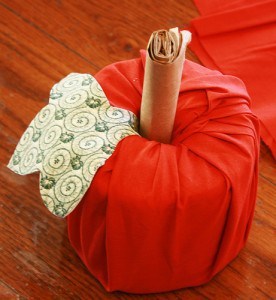
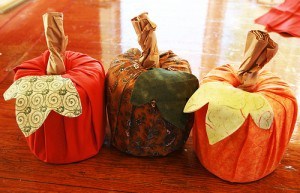
Aren’t these pumpkins cute? Call me cheap. Or frugal. But they are made by wrapping a roll of toilet paper with fabric. The girls are wanting to decorate for fall. I was going through our fall decorations and realized we needed some new ones but didn’t want to take a ton of time to actually make any or spend the money on buying some. So I came up with these.
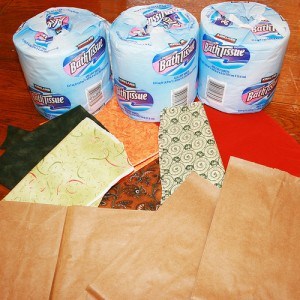
Here’s what you need for each pumpkin:
1 roll of toilet paper
1 fat quarter of fabric (18 x 22 inches)
scraps of green fabric for the leaves
1 brown paper lunch sack
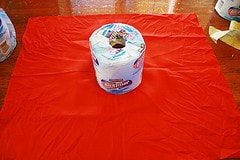
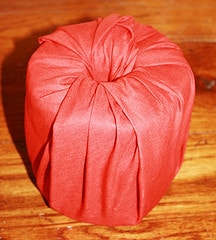
Step 1: Lay your fabric wrong side up. Place the roll of toilet paper in the center and bring up the fabric, stuffing the edges into the middle of the roll.
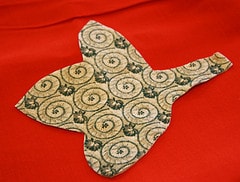
Step 2: Cut out a leaf from the green fabric making sure the stem is long.
Step 3: Starting at the bottom of the bag roll up the paper lunch sack. Place the stem of the leaf in the middle of the toilet roll and push the rolled up lunch sack into the middle keeping the leaf in place.
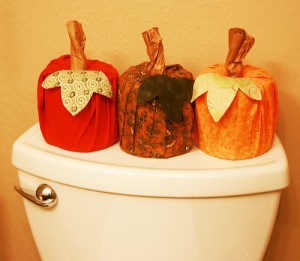
Voila! We found the pumpkin stems looked better if we crinkled up the lunch sack before rolling and then twisted it before putting it into the middle of the toilet roll. Now use them for decoration anywhere, even in the bathroom!
Cute, easy, fast, and cheap. Just my kind of craft. =) So simple even the littlest chickadees can make one.
I have made several of these pumpkins. To make them “fatter” around the middle, used batting and put newspaper or tissue paper over it before the material. (Going to try using plastic shopping bags next.) Picked a dead branch off a bush, broke it up and used that as the stem. Used triangle squares of material for the leaves. Bunch and stuff! Love these! Love easy and cute!
Just the craft I needed!! Thanks a ton!!
These came out great. I am taking ideas from a few of these pins. You can use plastic bags to add to the toilet paper to make the pumpkin more bulky.