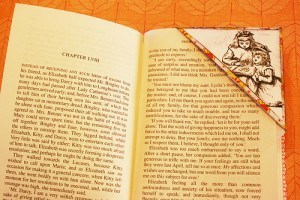
Lookie what we made this afternoon! After a little thinking, I figured out how to make these corner bookmarks. They are easy but oh, so cute and useful.
Cut a piece of scrapbook paper or cardstock 6×4 inches. You can make 6 corner bookmarks from one 12×12 inch sheet of paper or cardstock.
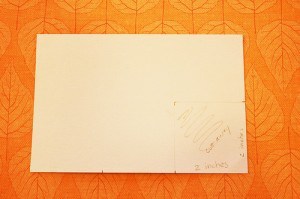
On the back, measure the middle of one 4 inch side at 2 inches. On one 6 inch side mark every two inches. From the marks on the 4 inch and 6 inch sides draw lines to make a square in the corner. (see photo if that wasn’t very clear)
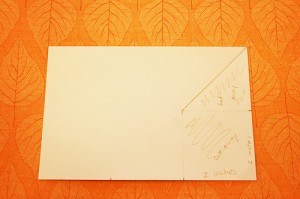
Using a ruler line up the corner of the marked 4 inch side with the 2nd 2 inch mark on the six inch side making sure it also hits the corner of the square. Draw a line from the corner of the square to the corner of the paper. Cut away as labeled in the photo.
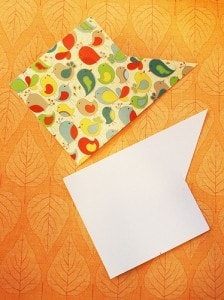
Your piece should look like this. One shows the patterned side.
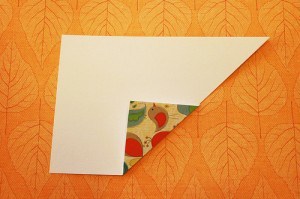
Fold the paper as shown using the remaining 2 inch mark as a guide on where to fold. You should create one long line with the fold and the diagonal cut.
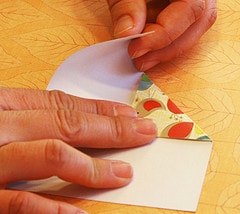
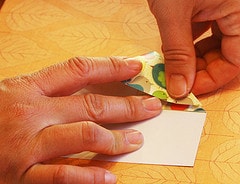
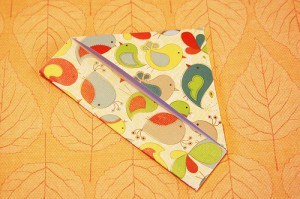
Bring the diagonal part over. Match the corners up and crease.
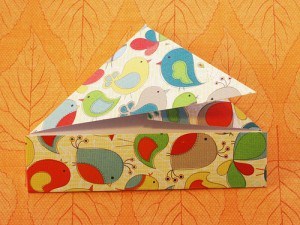
It will look like a basic house shape.
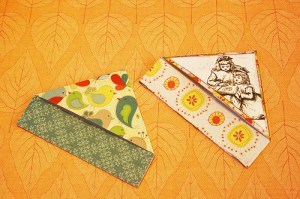
Fold up the bottom. Glue the bottom flap. Glue the top flap to the colored part of the cardstock only. You want the triangle part to be open so it slips over the corner of the page in your book.
Here’s the basic corner bookmark!
Now embellish any way you want.
These would make some fun, easy gifts for any bibliophile in your life!
© 2007-2009 Chocolate on my Cranium, LLC all rights reserved


Leave a Reply