I basically used this tutorial from Ruffles and Stuff to make my green ruffle shirt but did make some changes that cut out some work. I’m all about making things simpler and faster. 😀
Supplies needed:
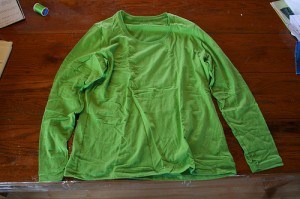
A long sleeved knit t-shirt
A variety of buttons
Regular sewing supplies
Sewing machine
Here’s what I did. I’m showing the photos below the steps this time.
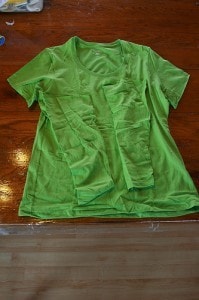
Step 1: Cut off the long sleeves from my $3 clearance shirt. Hem the short sleeves or leave them alone for a shabby chic look. I hemmed mine.
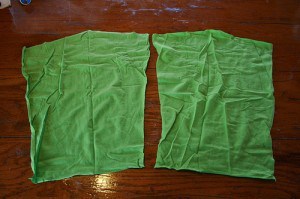
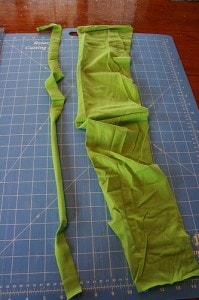
Step 2: Cut open the sleeves that you cut off the shirt. Cut the hem off the bottom of the sleeves. Sew the sleeves together to make a long piece. It doesn’t matter which ends you sew together. (I don’t have a picture of this, sorry)
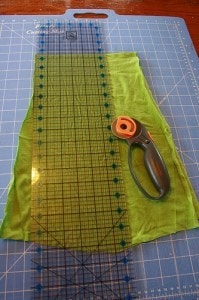
Step 3: Cut a strip from your sewn sleeves that is at least 4 inches wide. I originally cut mine 6 inches wide but ended up cutting it down because 6 inches was just two wide for my taste.
Step 4: Cut another strip that is 1 inch wide.
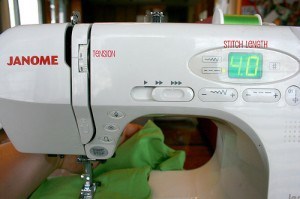
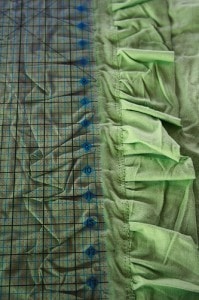
Step 5: Gather your 4 – 6 inch wide strip by setting your sewing machine to the longest stitch length and the tightest tension. When you sew on knit material it is like magic how it gathers automatically when sewing down the middle of it. Or you could just sew down the middle with a long stitch and then pull the threads to gather it but it takes longer that way. 😀
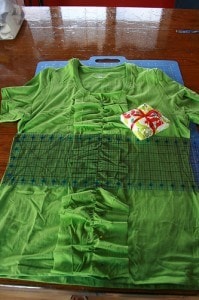
Step 6: Place the ruffled strip down the middle of your shirt adjusting the length so it fits perfectly from top to bottom. Pin and sew with a normal stitch length.
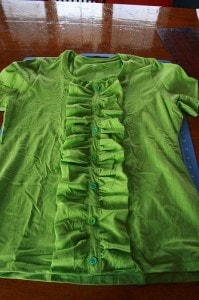
Step 7: Pin the 1 inch strip down the center of the ruffled one cutting the ends so they are even with the top and bottom of the shirt. Pin. Zigzag stitch down each side of the one inch strip.
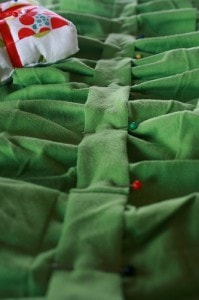
Step 8: Measure and mark where you will sew your buttons. This will vary on the number of buttons you have. Mine were spaced about every 3 inches.
Step 9: Sew your buttons on. I cheated by lowering my feed dogs and adjusting the zigzag stitch so it went into the holes of the buttons perfectly. It was much faster to sew the buttons on this way than by hand.
Step 10: Sew across the top and bottom of the ruffle attaching them to the top and bottom of the shirt. It also helps to tack the ruffle to the shirt here and there to keep it open. If you don’t the knit fabric will want to close in on itself after washing hiding all the buttons you sewed on.
Voila! A pretty, ruffly shirt!
 © 2007-2009 Chocolate on my Cranium, LLC all rights reserved

I am totally doing this one, too. I can’t believe how easy they are. Checking out the T-shirts at the store today!
THANK YOU!!!
I am totally going to Wal-Mart today to get a few T-shirts.
What a cute project. Can you tell me about the Janome brand sewing machine that you’re using in the picture? How long have you had it? Are you happy with it? What model is it? How much do they cost? I’m asking all these questions because I’m new to sewing. I purchased a Singer Confidence 5 mo. back and did a couple projects and already have to send it to a service center for repairs under the 1 yr. warranty. So disappointing with a machine that has had such light use. Now I’m wondering if this will happen again and maybe I should have purchased better quality. I thought since the Singer retailed at $370 it would buy a nice machine but evidently not. Please send me a message when you get the chance at jlkolenda@comcast.net
Thank you for your time.