This activity goes along with day nine of The Living Christ: An Easter Countdown.
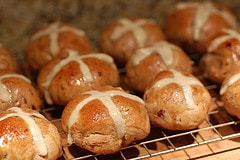
Can you believe we have never made hot cross buns before? We made this recipe (using raisins and dried cranberries). While the dough was rising we made stained glass windows – one of my children’s favorite art projects to do.
Materials Needed:
- A sheet of white paper for each child
- pencil and black marker
- Tissue paper – many colors
- Clear Contact paper
- Scissors
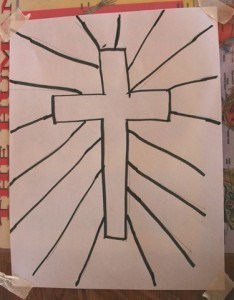
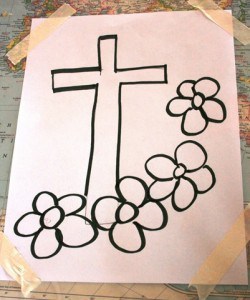
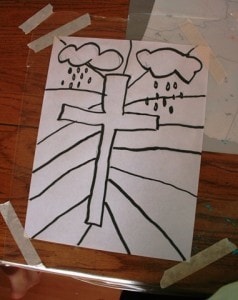
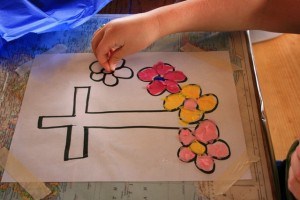
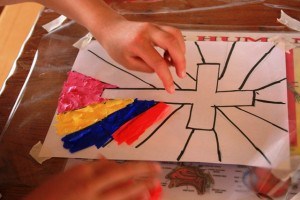
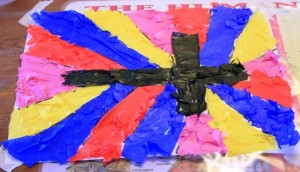
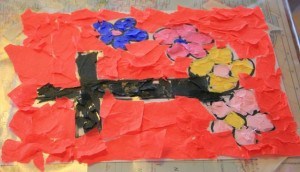
On the white paper have each child draw a simple picture or scene with a pencil. Today we did crosses. Some added rays of light, others added flowers. Then go over the pencil with black marker so it can easily be seen through the contact paper. Tape the corners of the paper down on the table.
This part is a bit tricky. Cut a piece of contact paper to cover the child’s picture making sure it is at least an inch larger all the way around. Peel off the paper protecting the sticky side and lay the contact paper on the white sheet with the sticky side up. The white sheet is just a “guide” in creating your stained glass picture. Tape the corners of the contact paper down to keep it all in place.
Now start filling in your picture by tearing the colored tissue into small pieces and placing them carefully on the sticky part of the contact paper. Follow the drawing on the white paper, changing the colors of tissue when needed. Make sure the children leave at least an inch on all four sides that is NOT COVERED in tissue paper. You’ll need those sticky sides to hang it on the window.
Carefully untape the corners of the contact paper. It should still be sticky on all four sides surrounding your picture. Just put these directly on the window.
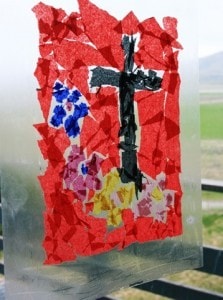
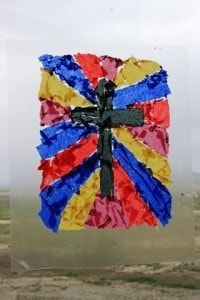
I love the stained glass windows! We did ours with waxed paper, but this would be so easy too! Great job! We haven’t made hot cross buns either. Will have to try that sometime!
Where do you come up with your ideas? I only wish I were that creative. Your countdown is spectacular! So glad I found your blog.