The first project my beginning sewers make is a simple pillowcase. It is very easy, doesn’t take much time, and it is useful!
All you need in one yard of 44/45 inch wide fabric – just the regular cotton fabric you get at the fabric store.
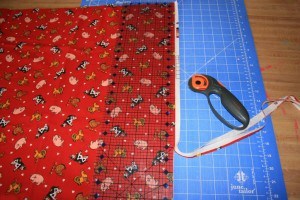
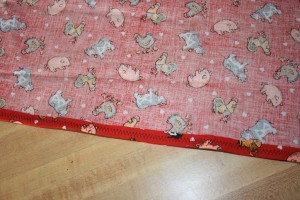
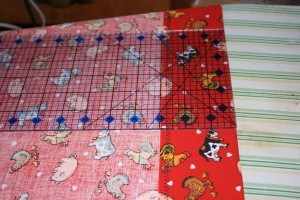
Start by straightening the cut edges (they never cut them straight off the bolt!) and cutting off the selvedge ends (photo above).
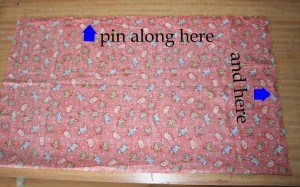
Fold fabric so the right sides are together. You should have two shorter cut edges and one long cut edge. Pin along the long cut edge and one shorter edge. You will be sewing down these edges. (photo above)
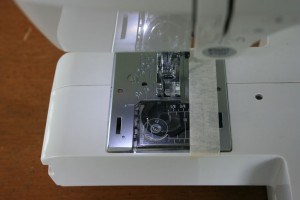
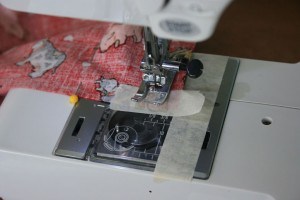
The seam allowance for this project is 1/2 inch. There is a line for it marked on your sewing machine plate but I find it easier to make it more noticeable for beginners by marking along the 1/2 inch line with the edge of some masking tape. This was a tip I learned in my basic sewing class in college.
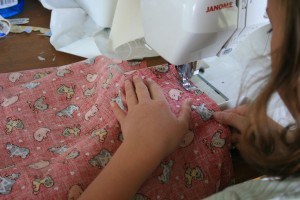
Starting at the top of the long edge sew all the way down lining up the edge of your fabric with the masking tape (or 1/2 inch mark) on your sewing machine plate.
I forgot to mention that before sewing I usually put masking tape at the bottom where the long and short sides that are pinned meet, marking 1/2 inch so the sewer knows when to stop and turn the fabric to sew along the short side. (photo above)
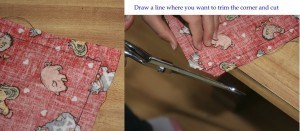
When both sides are sewn, clip the threads. Then mark and clip the corners. (See photo above)
Along the uncut edge (the opening of the pillowcase) fold down and iron 1/2 inch of fabric. (photo above)
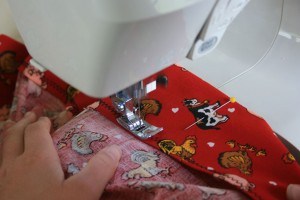
Using the zigzag stitch on your machine sew all the way around using the edge of the pressure foot as the guide for the folded edge of fabric. (photo above)
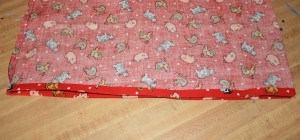
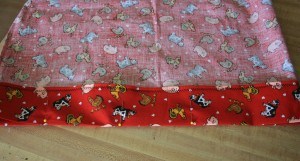
The photo above just shows how this edge looks after you are done stitching.
Fold this edge down again – this time three inches. Iron and pin all the way around the opening.
The open edge ironed and pinned, ready to sew. (photo above)
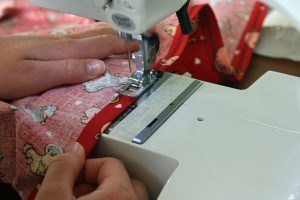
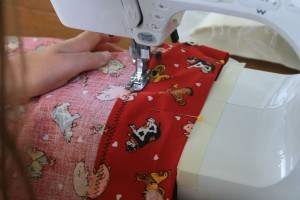
Change the stitch back to the basic straight stitch on your machine. You will be sewing over the zigzag stitches. There are two ways beginners can do this. One way is to line up the zigzagged stitched edge with the left side of the pressure foot. (photo above)
The other way is to mark with masking tape a line about 2 1/2 inches away from the right edge of the pressure foot. The folded edge of the pillowcase opening is lined up with this mark while sewing. (photo above) Try both ways to see which is easiest for you (or your beginning sewer) to do.
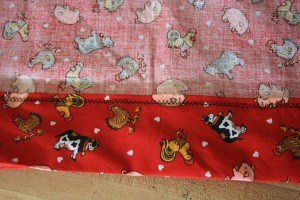
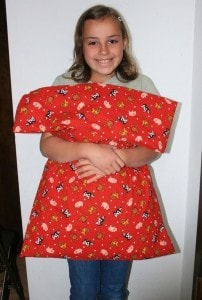
The above photo just shows the straight stitching over the zigzag stitching. You have created a three inch hem along the opening of the pillowcase. Turn the pillowcase right side out, put it on a pillow and admire!
You’ve sewn a simple pillowcase!
© 2007-2013 Chocolate on my Cranium, LLC all rights reserved
Great beginners project. I learned the same tip, with the tape, but use blue painter’s tape. It is more visable, and is low tack, so removes without any glue residue.
I have had some lengthy discussions with people concerning the appropriate age/developmental stage to start kids sewing with a machine – thoughts?
While sewing our crowns today, the kids were eager to jump in and so they sewed their own crowns…then Guy wanted more “practice” so I let him sew on paper as you mentioned in your previous post. I drew lines for him to follow and he LOVED it! Thanks!
That fabric is totally adorable! I still haven’t started my aprons…I am scared. Don’t you just want to take a trip to NC and help me? 🙂