This is another simple project my older daughters’ first sewing teacher made with them. It is a great beginner project for boys and girls! And another useful item to have in the house. These are also pretty cheap to make which is a plus!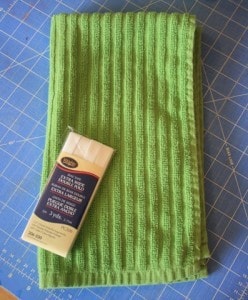
Materials Needed:
a standard dishtowel (mine measured 15 x 24 inches)
1 package extra wide double fold bias tape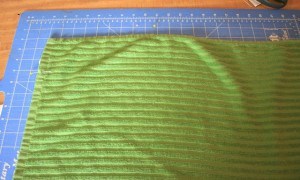
Step 1: Open your dishtowel and lay it flat. On one short side measure in 3 inches from each corner. Mark with a pin. Mark down 9 inches from the same corner on each long side. (See photo above. The short edge is on the right, the long edge of the towel on top)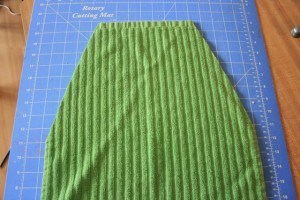
Step 2: Cut a straight line on each side from the 3 inch mark down to the 9 inch mark. Your dishtowel will look like the photo above.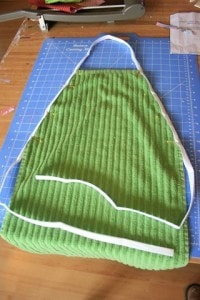
Step 3: You need 80 inches of your bias tape. Find the halfway mark of your bias tape (40 inches) and measure 8 inches on each side. These two marks will be where the tape meets the top of the dishtowel. Pin to the dishtowel at these marks and go one down making sure to stuff the raw edge of the cut dishtowel into the fold of the bias tape so that the tape fully encloses the raw edge. (see photo above) You will have 22 inch ties and a 16 inch neck hole.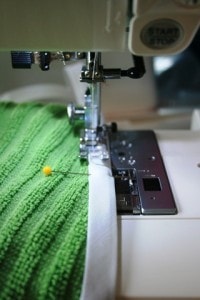
Step 4: Beginning at one end of the ties sew the bias tape together right along the edge and continue all the way around sewing along the edge of the bias tape closest to the fabric (see photo above) and down the other tie. 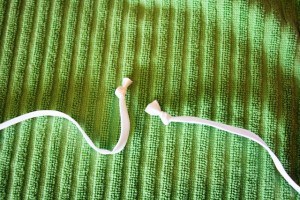
As stated in last week’s Girls Kerchief tutorial, I don’t make my beginning sewers try to fold the end of the bias tape in so there aren’t any raw edges. Instead we just tie a knot at the end of each tie. (see photo above) DONE!!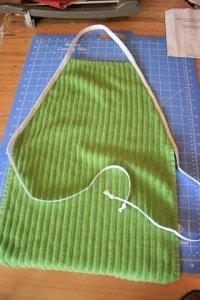
See? Quick and easy with no hemming. 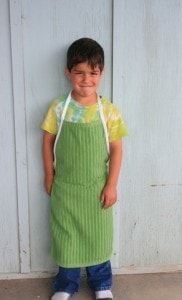
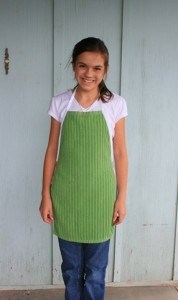
This apron will fit ages 4 (for full body coverage) to teens (for basic coverage). These make great gifts with a cake mix and come cupcake liners!
For a really cute baby apron try this tutorial, The Bapron, from Mr. Ferrero Rocher’s cousin and this Vintage Tie Apron from Smashed Peas and Carrots.
Ooh, that’s a good one. Scarlett and Guy will love making that…although we’ve already got a million kid aprons flying around here…we can always use another!
We need a few new ones around here, and that’s easy enough for me to do with the never ending to-do list. And maybe, have a little one help with? Oh, yes! I did read your guest post and really liked it. Thanks!
What an awesome sewing project! ♥ it!
I’ve been teaching my 7 yr old daughter to sew and this project is perfect for us to do together. Thanks for posting it!
The perfect idea for my cool summer days calendar! Thanks:)
I love your creation; it looks like something I could actually do. The tutorial and sweet pictues were great.
Blessings to you!
What a great idea for a starter project!!! I may tackle this one with my son before I dig into the pattern and fabric (I keep telling you about it…I really am going to do it…eventually…) that I got months ago! Seriously can I just come live with you for a couple weeks and you can teach me all I need to know to be Wonder Woman like you? I am a quick learner I promise. 🙂 You inspire me to do better, without making me feel guilty for not already being better. Thank you!
How cute is this? Wouldn’t they be cute made out of seasonal towels? Think it ‘s time to get started on Christmas aprons for Nanny’s little helpers!