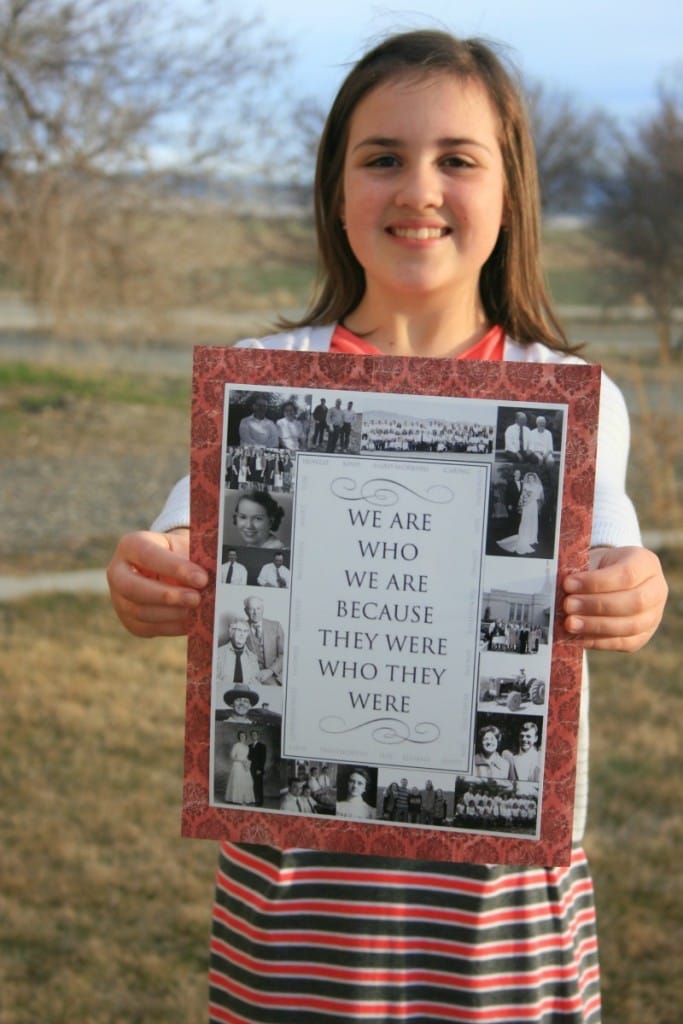
“We are who we are because they were who they were.”
This quote is one of our favorites when we talk about our ancestors. We would not be where we are or who we are without their sacrifices and examples. Because they mean so much to us we like to tell their stories and display their pictures so our children come to know them. They are not strangers to us! I thought I’d share a few of the ways we display our ancestors’ photos.
Years ago I bought two large frames with room in the mat for many photos. I printed pictures of our ancestors as well as their names and put them in the frames. One frame holds my ancestors, the other holds my husband’s ancestors.
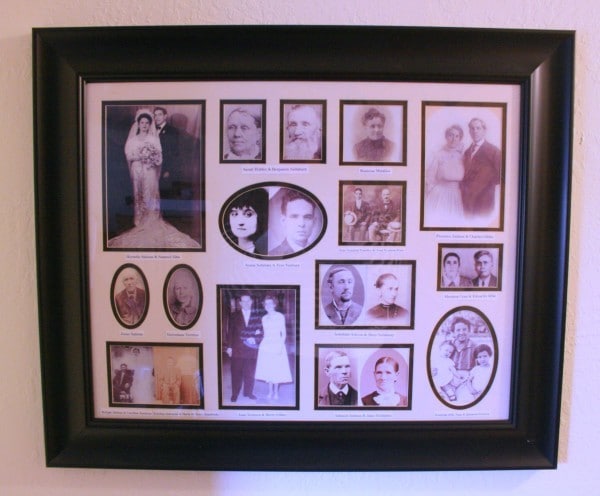

Seeing them all together like this is really fun, especially when comparing physical features. My kids love to see who looks more like who, who inherited so-and-so’s eyes or nose, and which side of the family they look more like. Having the photos labeled really helps us all put faces with the names we hear in our stories.
Last year I was put in charge of creating interactive centerpieces for a HUGE Wadsworth family reunion. We’re talking 300-400 people coming! Here are a couple of things I came up with.
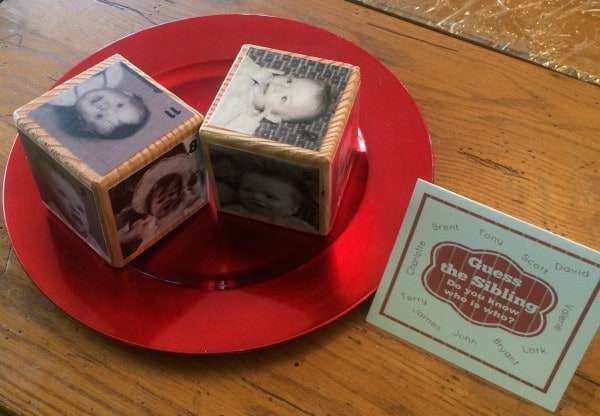
There are eleven siblings so we created photo blocks with their baby pictures. The 12th side has photos of the parents, Don and Sylvia, as babies. We wanted people to pick them up, turn them over and over, and see if they could guess who was who. You can easily do the same with ancestor photos you have and create a guessing game! Pictures in frames are nice but having something more tangible that littler kids can handle and touch is even better.

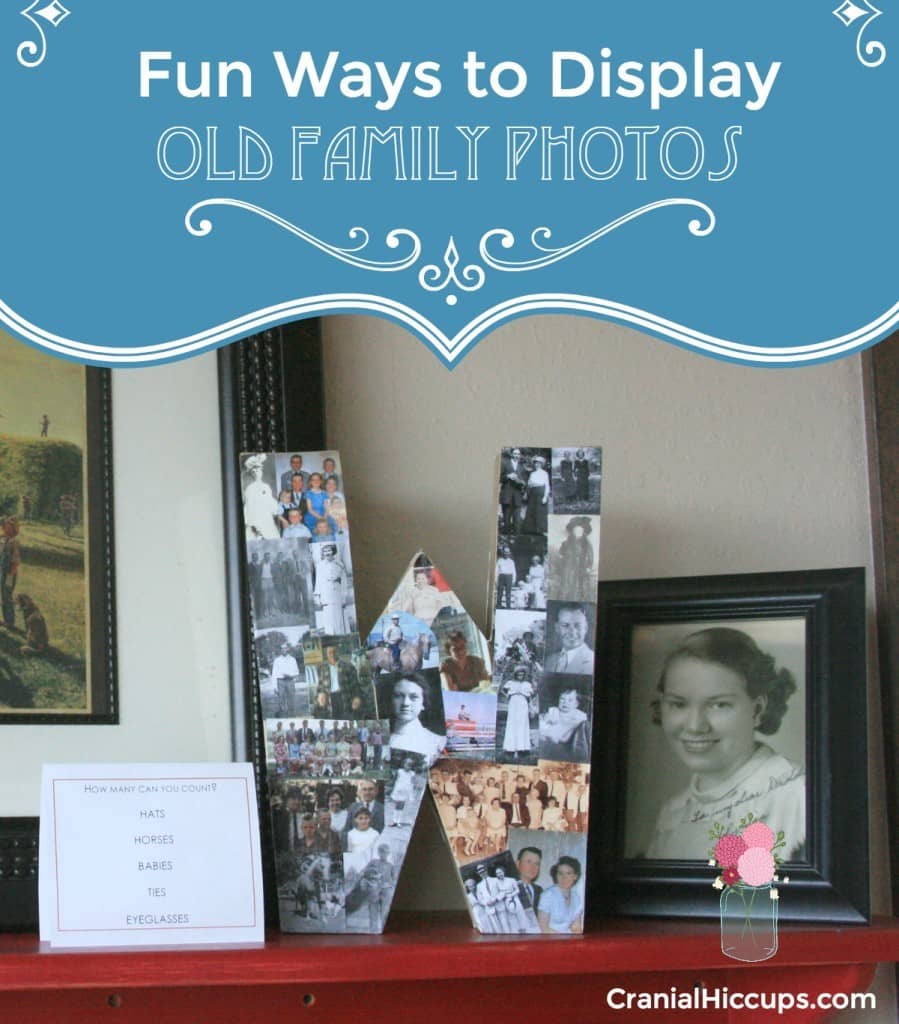
Since this is the Wadsworth side we took paper mâché Ws and découpaged old family photos on both sides. Then we created an “I Spy” game. One side of the card asks people to count how many hats, horses, babies, ties, and eyeglasses they can find. The other side of the card asks them to find random things like books, a toy rifle, someone eating canteloupe, a blue necklace, etc. I’ve created a tutorial below so you can create your own for your family.

Materials Needed:
- Paper Mâché Letter
- Copies of old family photos on regular paper
- Scissors
- Modge Podge
- Foam Brushes
- Craft Knife
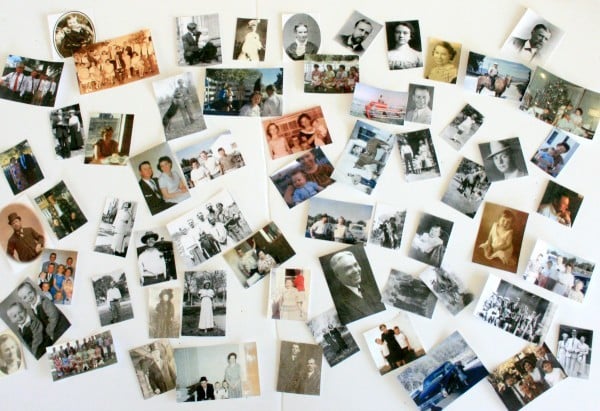
Start by reducing the size of your photos so they are small. You want to be able to put as many photos as possible on the letter but still be able to see the details. I used Photoshop to reduce my photos and put them on one page (well five pages) but good free online resources are PicMonkey or Canva to create the pages of your family photos. Print them on regular sheets of white paper not photo paper. Cut them all out.
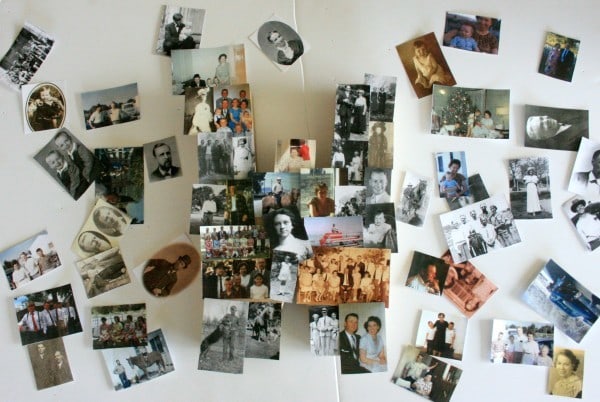
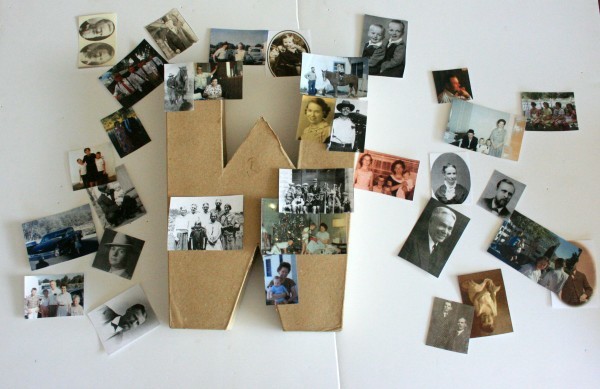
Start laying photos out on one side of the letter until you get a layout you like. Don’t glue them down yet! Gather up the unused photos to use for the other side.
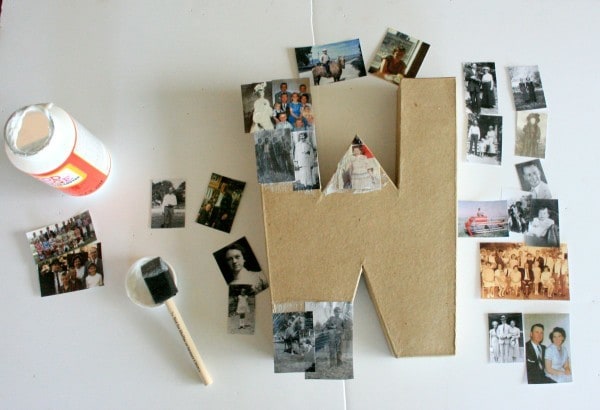
Carefully take the photos off and put them by the sides of the letter where they were placed. Start by applying modge podge to the letter with the sponge brush. Then carefully place a picture. Brush more Modge podge to the top of the photo. Modge podge dries clear so don’t worry about the cloudy look it will have at the beginning. It’s okay to have edges hanging off the sides of the letter. Those will be trimmed off later.
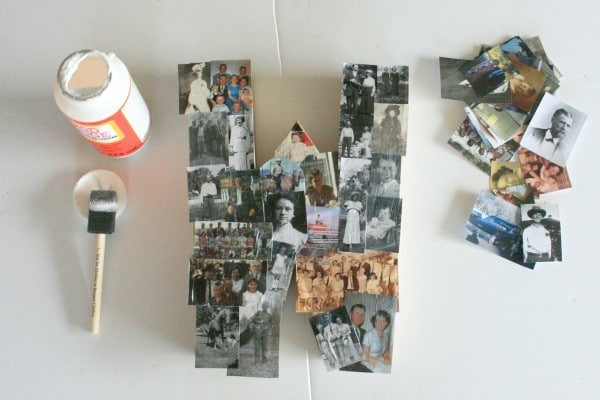
Keep applying photos until you have one side of the letter covered. Go ahead and trim around photos getting close to faces or other details before gluing them down. Let dry completely.
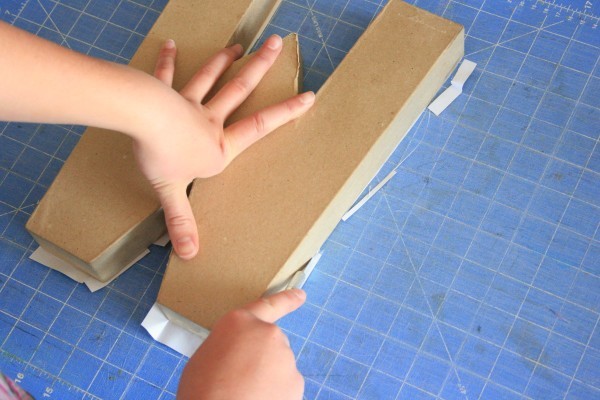
Once it is dry turn the letter over onto a cutting mat (I use my quilting mat) or an old telephone book. Use the craft knife to carefully trim away the photos sticking over the edge of the letter.
Repeat the steps on this side of the paper mâché letter, laying out your photos, then gluing them down. One dry turn it over and trim the edges.
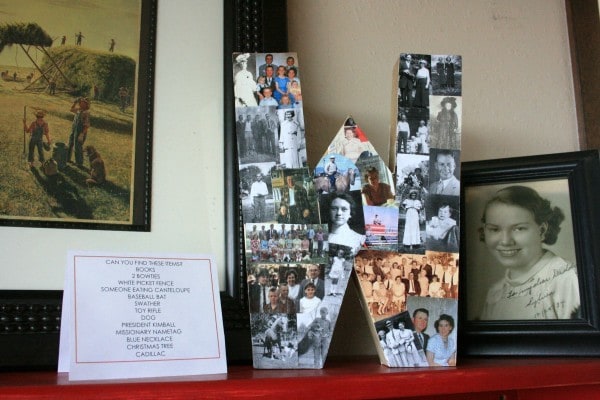
To make an “I Spy” game write a list of things in your photos for people to look for. Make another list of things to count. Here’s what we had for ours:
HOW MANY CAN YOU COUNT?
- HATS
- HORSES
- BABIES
- TIES
- EYEGLASSES
CAN YOU FIND THESE ITEMS?
- BOOKS
- 2 BOWTIES
- WHITE PICKET FENCE
- SOMEONE EATING CANTELOUPE
- BASEBALL BAT
- SWATHER
- TOY RIFLE
- DOG
- PRESIDENT KIMBALL
- MISSIONARY NAME TAG
- CHRISTMAS TREE
- CADILLAC
How do you display old family photos?
Fabulous ideas! Thanks so much for the tutorial and the nudge to acquaint my children with the stories of their ancestors. This will be fun.
I love these fresh ideas!!! This makes family history come to life and gets the conversation rolling about those who came before us…’Super Prompts’
I once walked into the powder room at a friend’s house to be greeted by labeled, framed photos of their ancestors covering the walls. It was fantastic, and a great conversation piece.
Such great ideas! Thank you for sharing!
Finding new ways to bring our ancestors to life for our family is ever on my mind. Thank you! How do you find the time? I would really love to hear how you organize .your daily family life and how you run yours! So curious, with five of my own (and open for more), I sometimes feel like I just get nothing done. How do you manage to keep the big picture?
By the way, a friend, not a member of the church but very close to it in her heart here in Austria, Europe, was the one who recommended this blog to me! Thank you for your positive influence and sharing the Gospel of Christ this way!
Where did you make the photo collage “we are who we are…”?