Spain. Mexico. England. Wales. France. Germany. Ireland.
You say you know where your ancestors are from. But do you really? Have you ever looked at a map to see exactly where they were born, lived, and died?
Websites like Rootsmapper and Kinmapper are fun to do with your kids. It’s neat to see new points pop up on the map as the birth places of your ancestors are traced. It creates an instant lesson in geography to go along with your family history. There are advantages to doing it online. You can really zoom in and see where people lived. And you can also see a lot more individual pinpoints.
I wanted to create something similar to the maps from those websites with my kids to display in our home. Here’s how we went about making a map of our family roots.
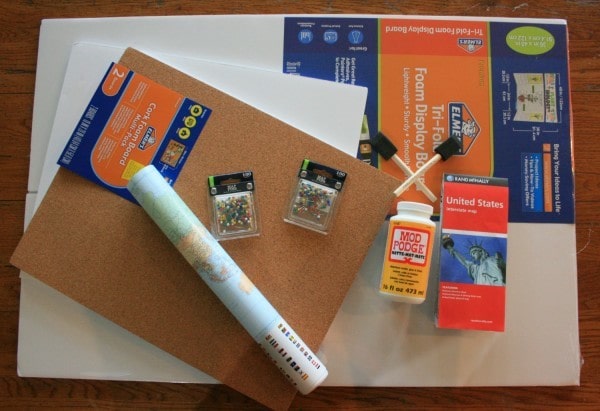
Supplies Needed:
- A world map (or USA map)
- Foam Board or Cork Foam board big enough to fit your map
- Modge Podge or Spray Adhesive
- Sponge Brushes if using Modge Podge
- Map Pins
- Thread or Baker’s Twine or Yarn (not pictured)
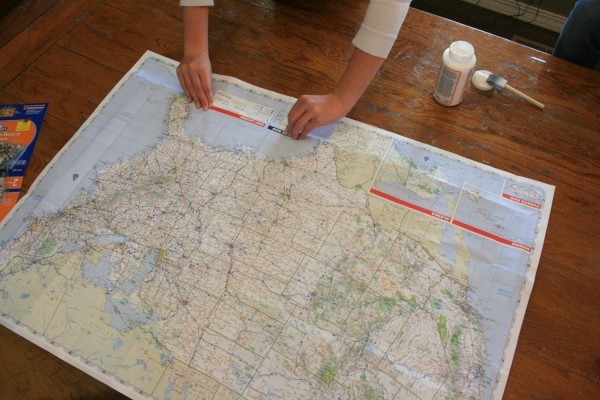
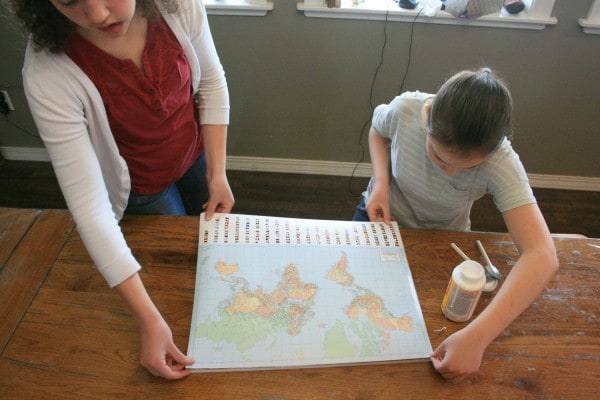
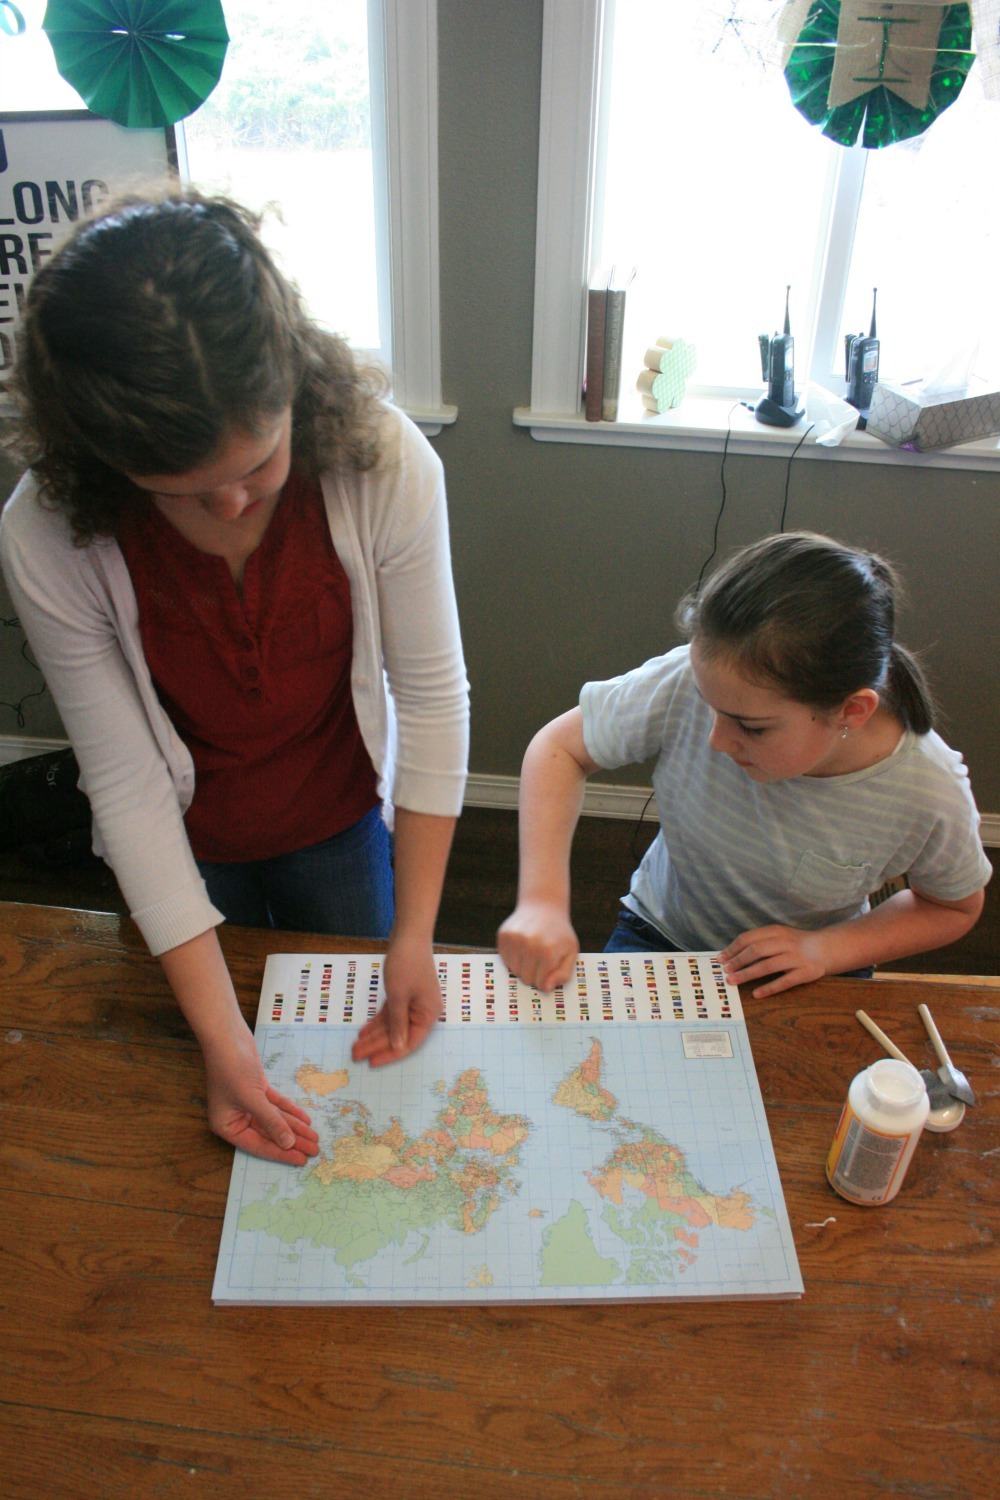
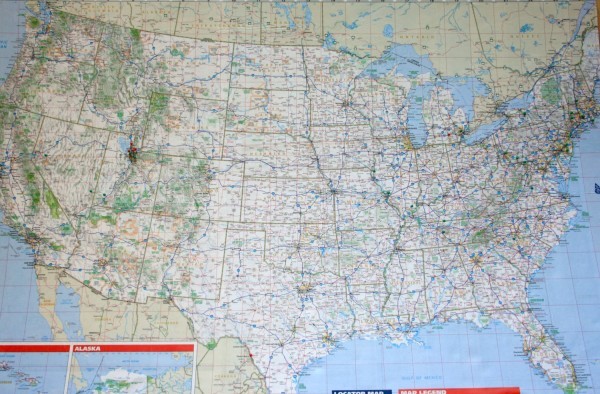
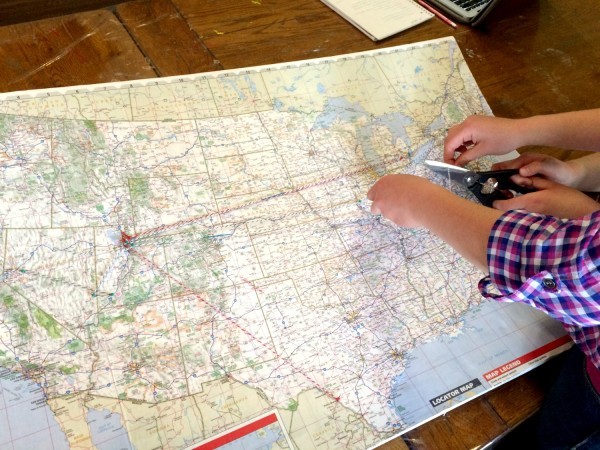
Our world map fit perfectly on the cork foam board so we didn’t need to do any trimming. We also made one with just a USA map. That map was a lot bigger so we laid it on our foam board and creased the edges so we knew where to trim it down.
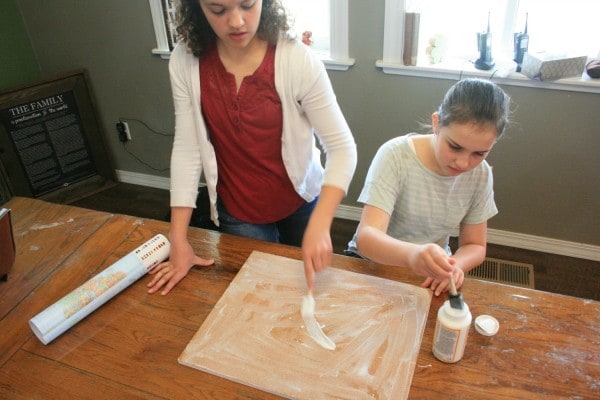
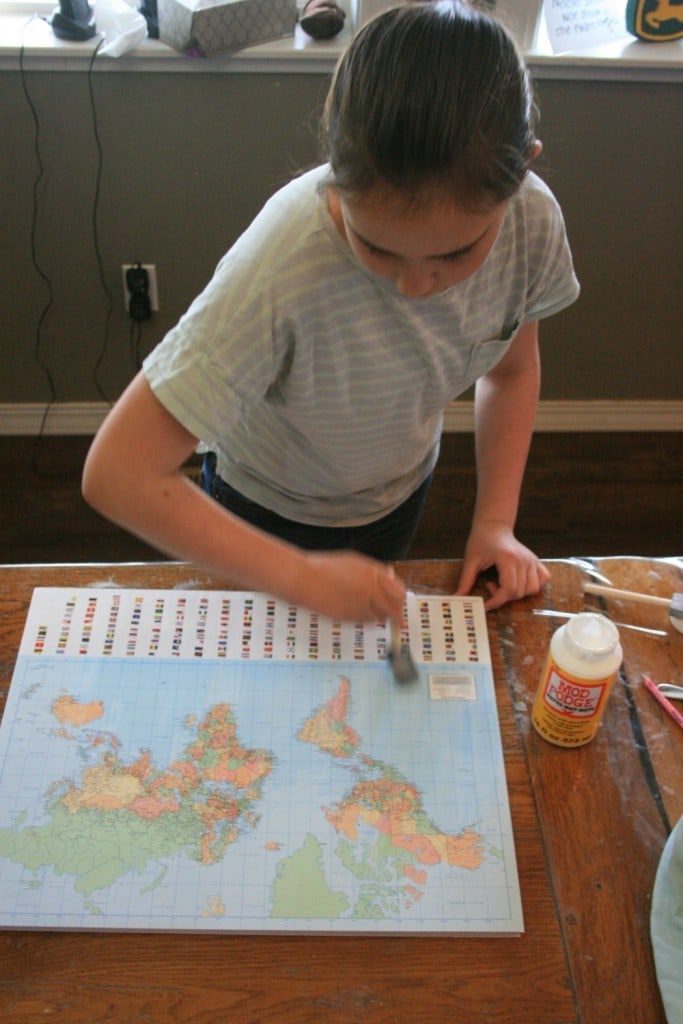
We spread modge podge all over the cork foam board. Spray adhesive would work too but we couldn’t find ours and when you live 40 minutes from town you make do with what you have. 😀
Carefully place the map over the foam board and press down all over doing your best to get the biggest bubbles out.
We weren’t too concerned about getting all the bumps and bubbles out. Like my kids mentioned it just makes it look like a topographic map!
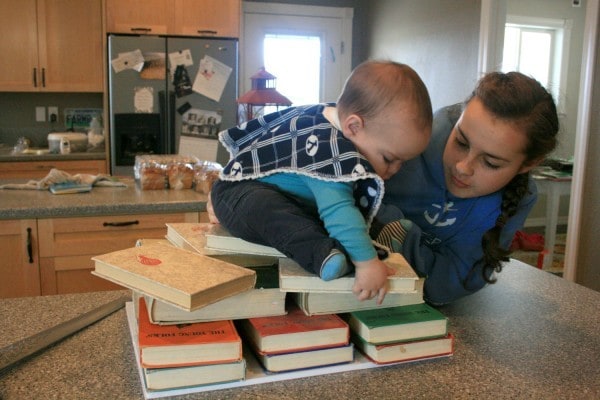
Now flip it over on a flat surface and pile on heavy books. Baby weight helps too. This helps to keep everything flat as it dries.
Once it is dry you can choose to go over it again with more modge podge or just leave it as is.
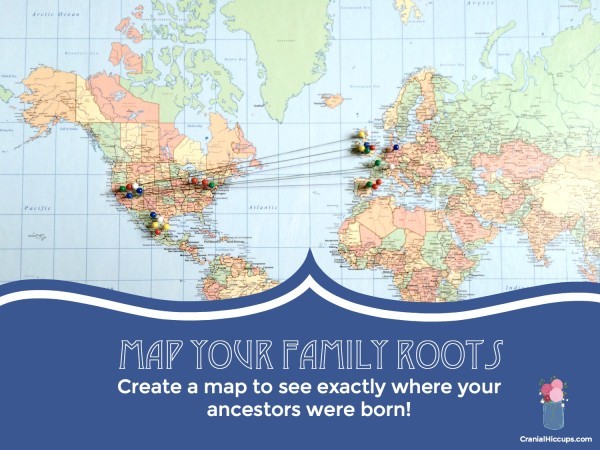
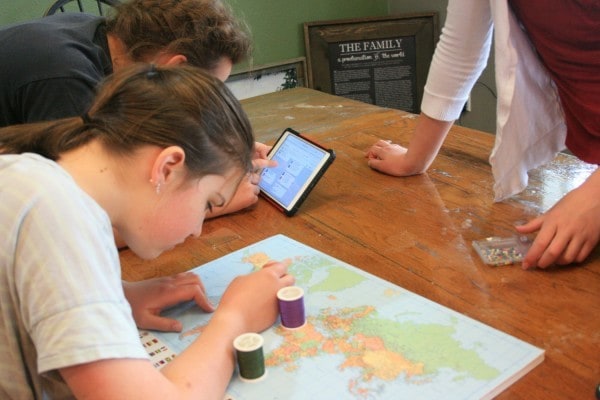
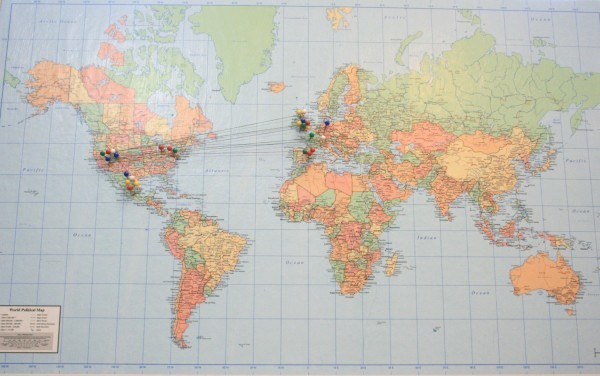
Now the fun really starts! Using a pedigree chart, either paper or online, start putting pins where your ancestors were born. We did one family line at a time so we could keep track of where our string was to go. We used one certain color (purple) to represent my side of the family and another color (green) for Joseph’s side.
We tied string to the first pin then wrapped it a few times around the next pin and so on until we reached the end of the family line where we tied the string to the last pin.
Because our pin heads were so big we didn’t do all of our ancestors on the world map, just a good representation of them.
We found on the USA map it was hard to see the thread we used.
We found baker’s twine worked a lot better.
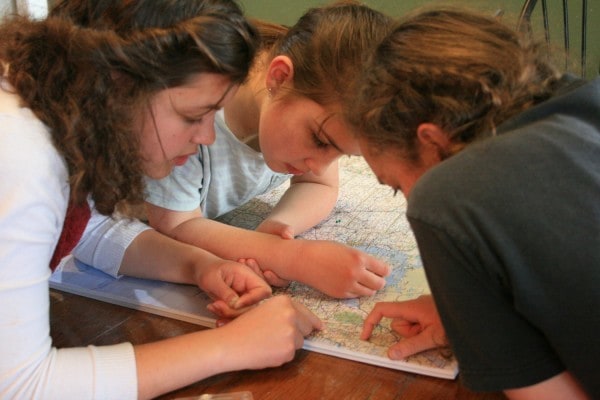
I am going to hang these up in our school room. For now the kids have enjoyed taking them to the table and looking over them, tracing the family lines to where they go.
Take a night or two, or even a weekend, to map your family roots with your kids. I promise it will be fun, informative, and memory filled.
Such a fun project!
Love this!
Great idea! I know countries my ancestors were born but not cities/towns.