Last week I posted how easy Chatbooks are to create. I received a few emails and messages asking about the ancestor photos books.
Here’s a quick tutorial on how I created mine.
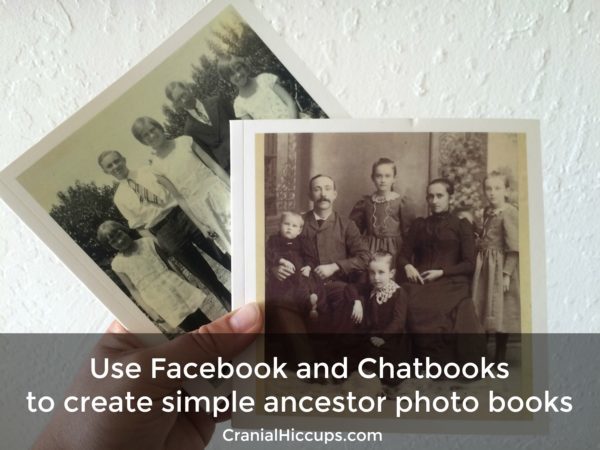
I started by finding ancestor photos. We had quite a few already. I also looked online at Family Search and was able to get more photos that others had uploaded of our common ancestors. That was very fun because many of them we hadn’t seen before!
I originally thought I would create just one ancestor book but quickly realized I would have to do a his and hers sort of thing for each side of our family. I created a “Wadsworth Chatbook” folder and a “Ventura Chatbook” folder on my computer. As I found photos I’d label them and add them to whichever folder they belonged. Knowing that this book would be for my children I started with their great-grandparents since they already know their grandparents. We are fortunate enough to have quite a few photos going back several generations. Once I had sixty I was done since each Chatbook holds sixty photos.
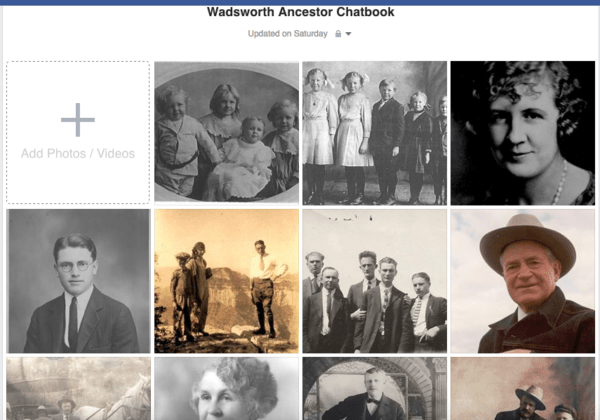
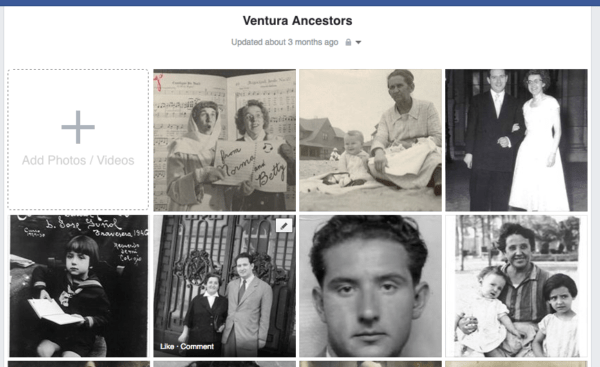
Then I created a Wadsworth Ancestor album and a Ventura Ancestor album on Facebook and set the privacy setting on those albums to “Only Me.”
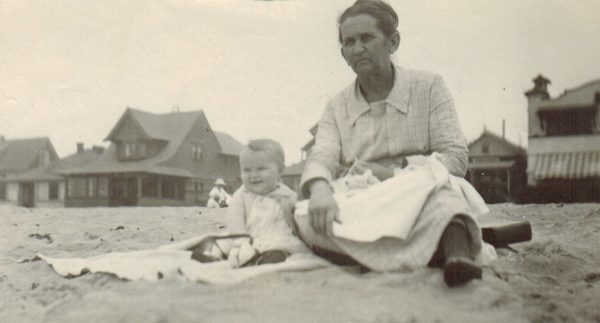
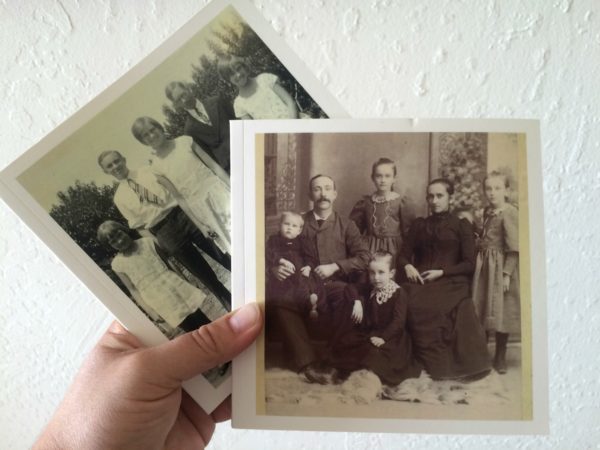
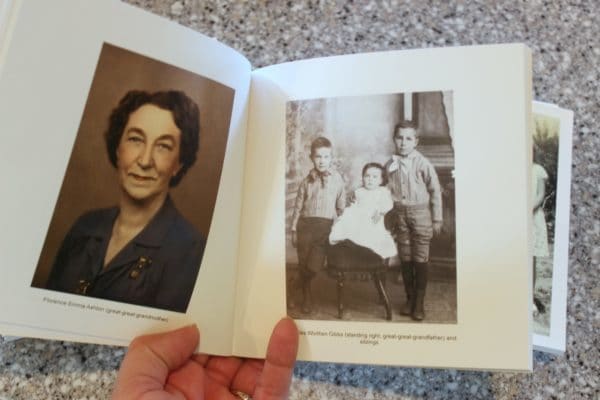
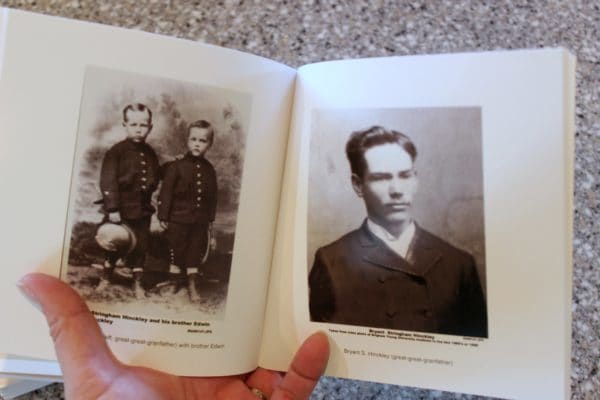
Once the photos were uploaded I added captions to each photo and included how they were related to my children. See the photos below as an example.
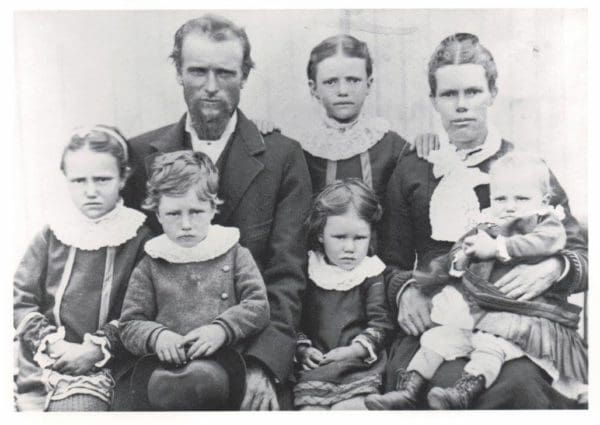
Minnie Mable Lindsay (littel girl far left) with family. Parents are James Lindsay and Agnes Watson (3rd great-grandparents)
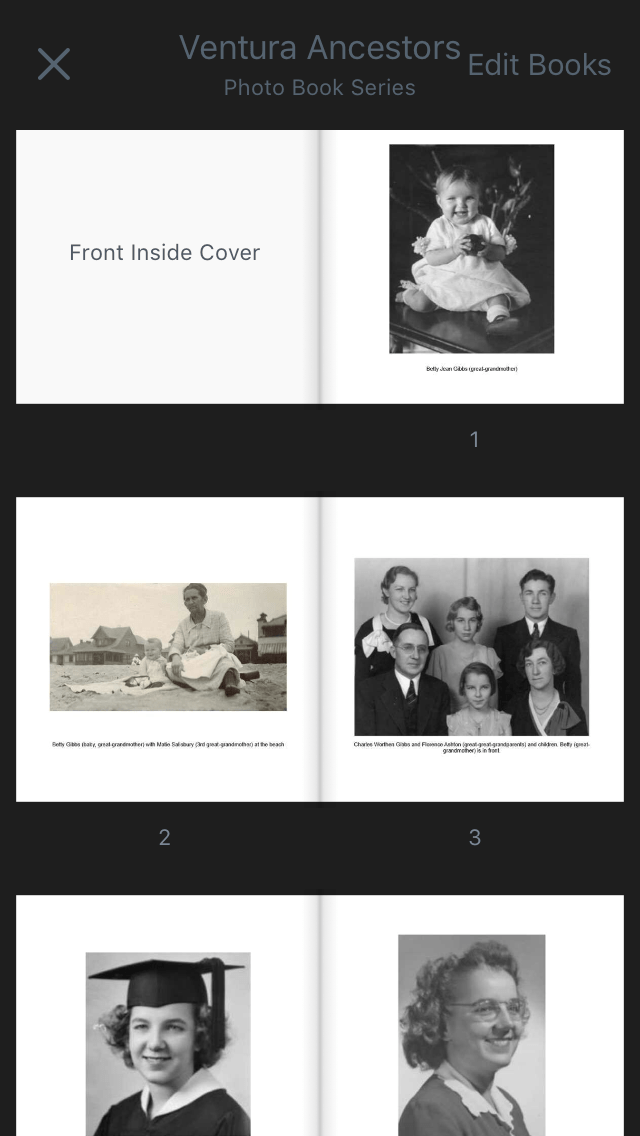
If the captions aren’t too long they will fit on the same page as the photo in the Chatbook. If they are too long, say you want to include a story, then it will take up a page or more in the Chatbook so you’ll have text instead of photos on those pages. I also arranged the order of the photos so they went back in generations. Great-grandparents first, then great-great grandparents, 3rd great grandparents, etc.
Up to this point all of this was done with my computer. Once I had the captions completed I used my phone to connect the Chatbook app to my Facebook account and chose which album I wanted it to connect to to create a new photo book. From the pictures I chose the album cover.
I also rearranged the photos a bit since they got slightly out of order when connecting to Chatbooks. I then ordered my book!
It was simple and easy to do and will be a great keepsake for my kids. I can picture grandparents doing this for their grandchildren, or awesome aunts doing it for nieces and nephews. The nice thing is you can reorder the book countless times! You can also go in and edit the book if you find out later that you misspelled something.
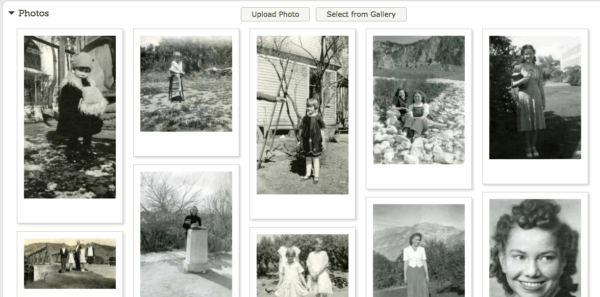
Your ancestor books are great! I would like to add that you can upload photos to Chatbooks directly from your computer, without the extra step of uploading them to Facebook or Instagram first. So if you’re just trying to create memory books, without first sharing photos on social media, you can do it directly on Chatbooks (including adding and editing the captions)! I hope that tip saves someone a little time! I LOVE my Chatbooks!
Oh my goodness. Thank you for this! I do not have a smart phone, but am very interested in creating Chatbooks. Now I know I can!
Love this ❤️ I set up a private IG account just for this purpose. My first book (my side of the family) will be ready to order soon 🙂
Great thoughts. Can you move photos in the actual Chatbooks layout? Is click and drag possible or is there a “move photo” button?
You can rearrange photos in the Chatbooks layout. I just hold my finger down on the photo and then drag it to the position I want it to be in. All of the other photos stay in their same order but move up or down depending on where I moved the photo.